Welcome to the wonderful world of setting up a writing center for your elementary students! In just three quick and easy steps, you’ll be on your way to having a fully functioning writing center that your students will love. So let’s get started, shall we?
Step 1- Writing Center Organization
The first step is to choose the container that will hold all of your writing materials. This can be anything from a simple box or bin to a more elaborate cart or desk. Whatever you choose, just make sure it’s big enough to fit all the materials you’ll need and that it’s easily accessible to your students.
5 Container Options for Setting Up a Writing Center
Here are five options I’ve used for setting up a writing center in my second-grade classroom. All are great options. Some save on space, while others foster more enthusiasm around writing.
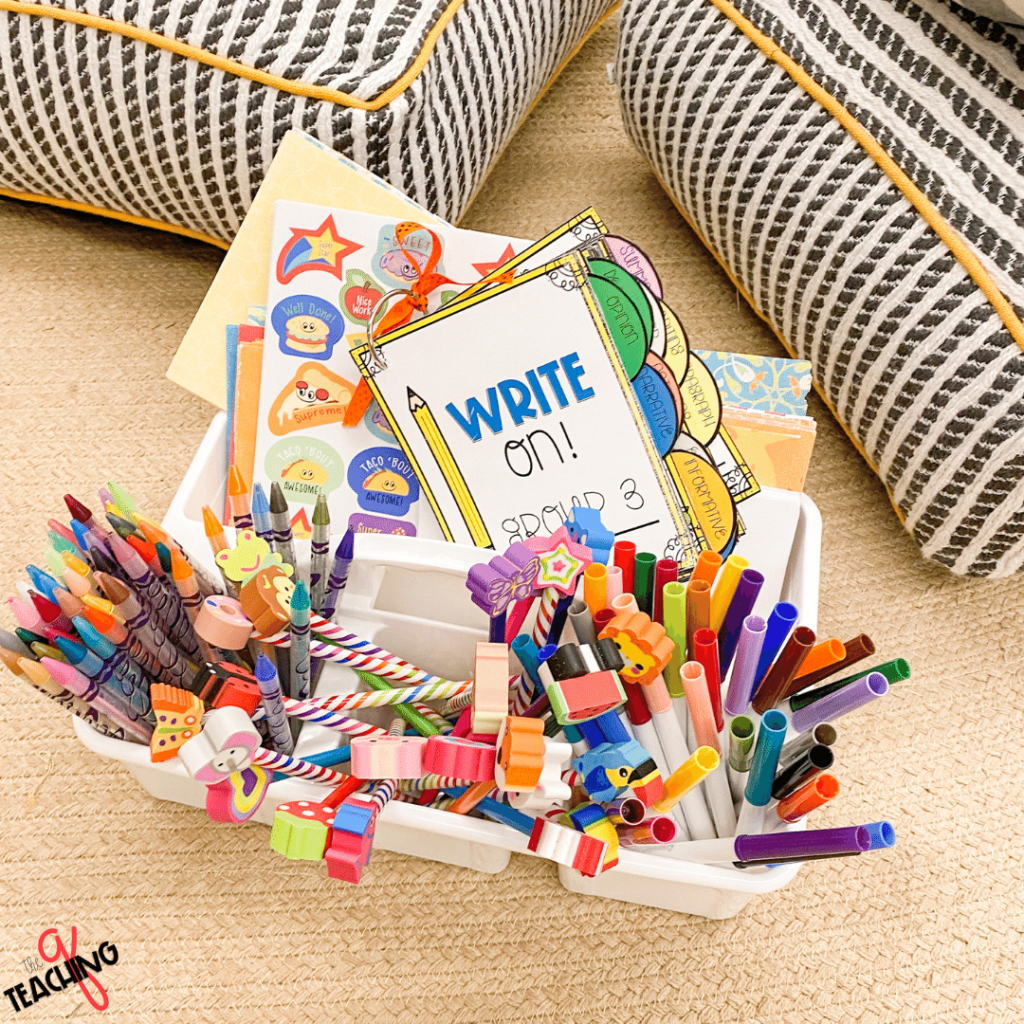
Writing Caddies
A writing caddy is a great option if you’re short on space. It’s basically just a small box or bin that can be easily stored away when not in use. Collapsible Storage Containers- These are perfect for classrooms with limited storage space. They’re easy to set up and take down, and they come in a variety of sizes to fit your needs. Portable Writing Centers- If you have the room, a portable writing center is a great option. This way, your students can move it around the room as needed or even take it outside for some fresh air!
Tubs
Plastic tubs are another great option for setting up a writing center. They’re durable, easy to clean and come in a variety of sizes.
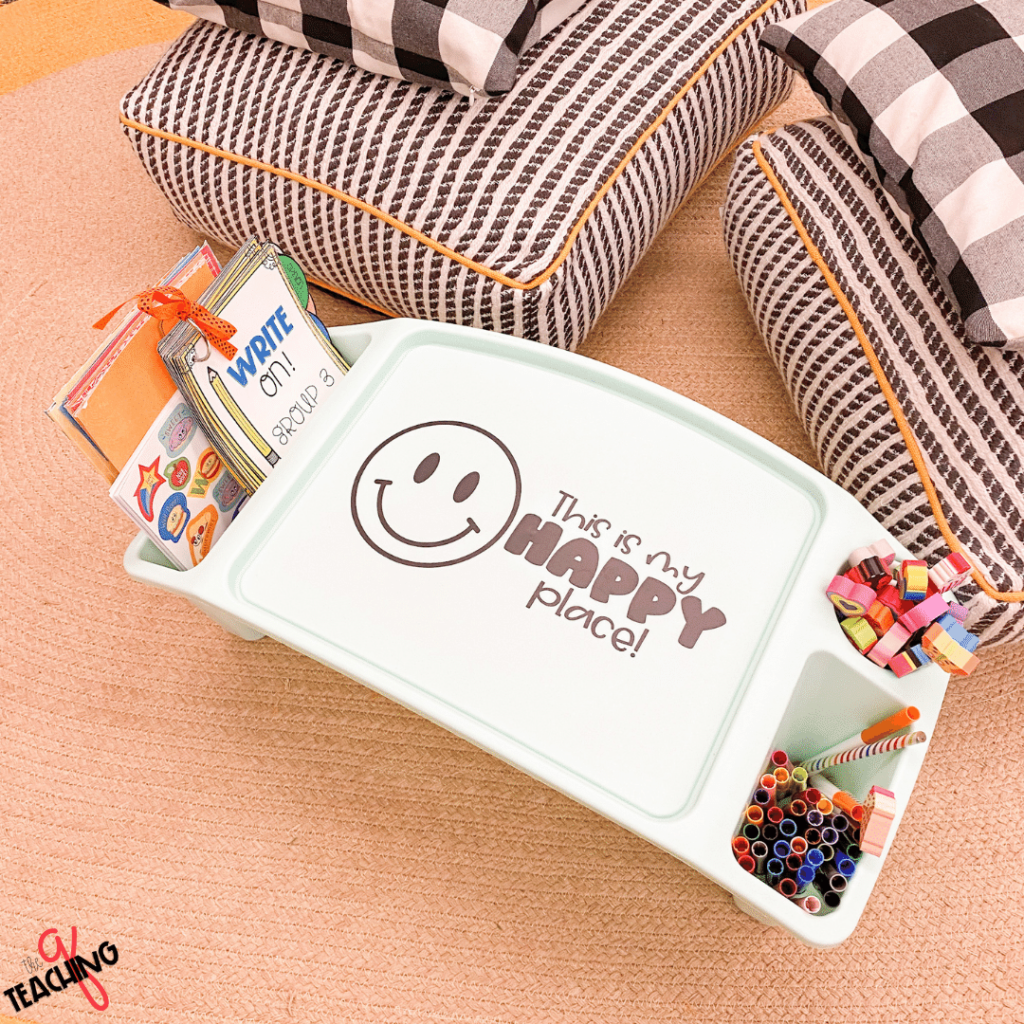
Writing Lap Desks
Writing lap desks are perfect for students who need a little extra support when writing. They’re also great for small spaces since they don’t take up much room. If you’re setting up a literacy center in addition to your writing center, you might also want to include books, puzzles, games, and other materials to help your students with their reading skills.
A simple SVG cut from a Cricut machine was added to the lap desk. You can get the “This is my happy place!” SVG freebie by visiting this blog post.
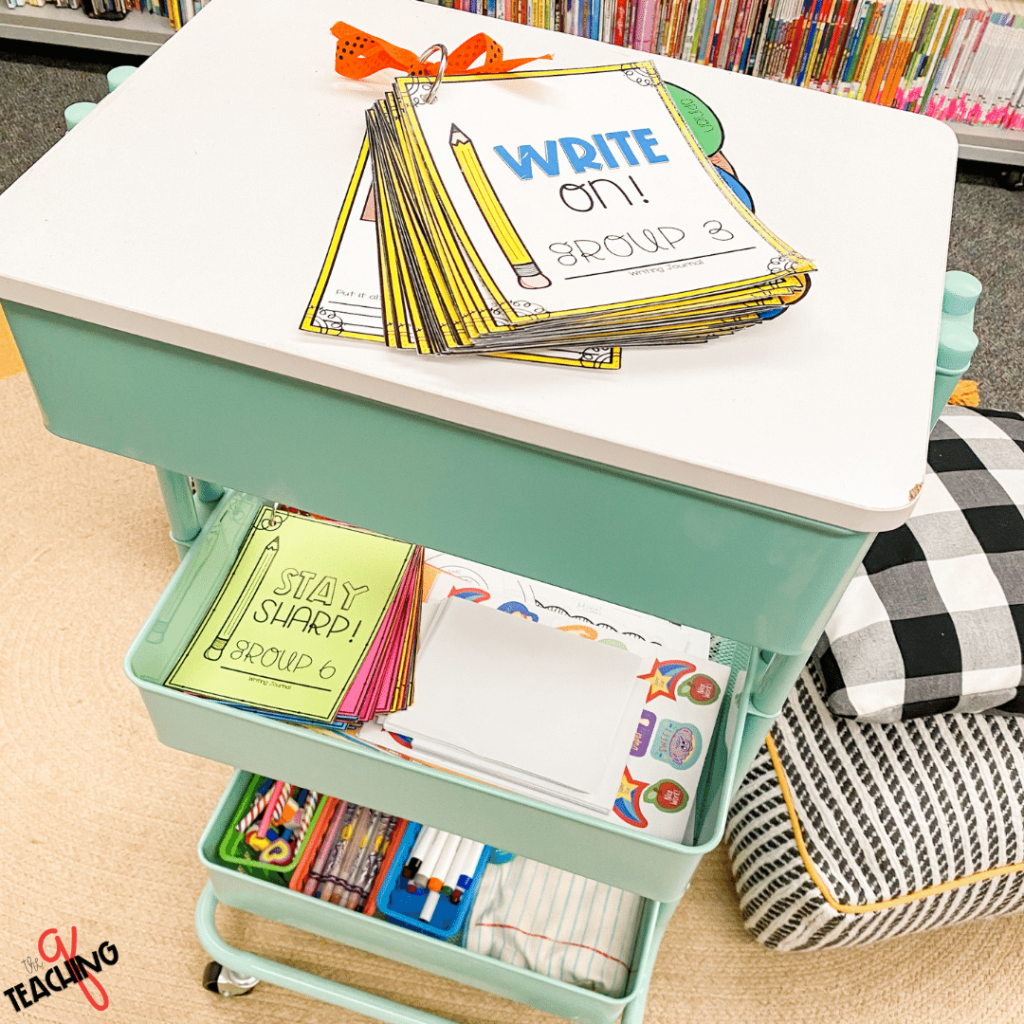
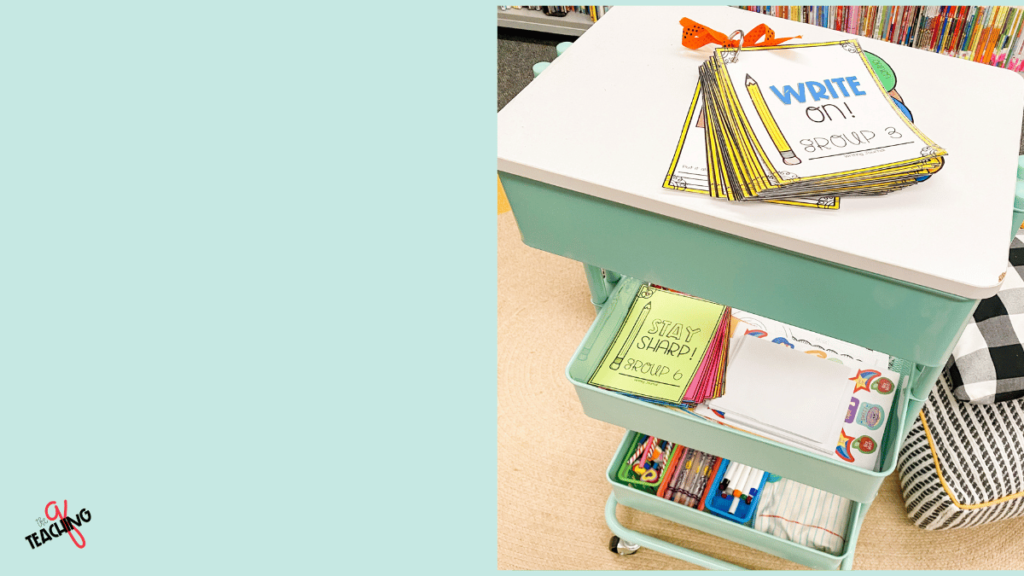
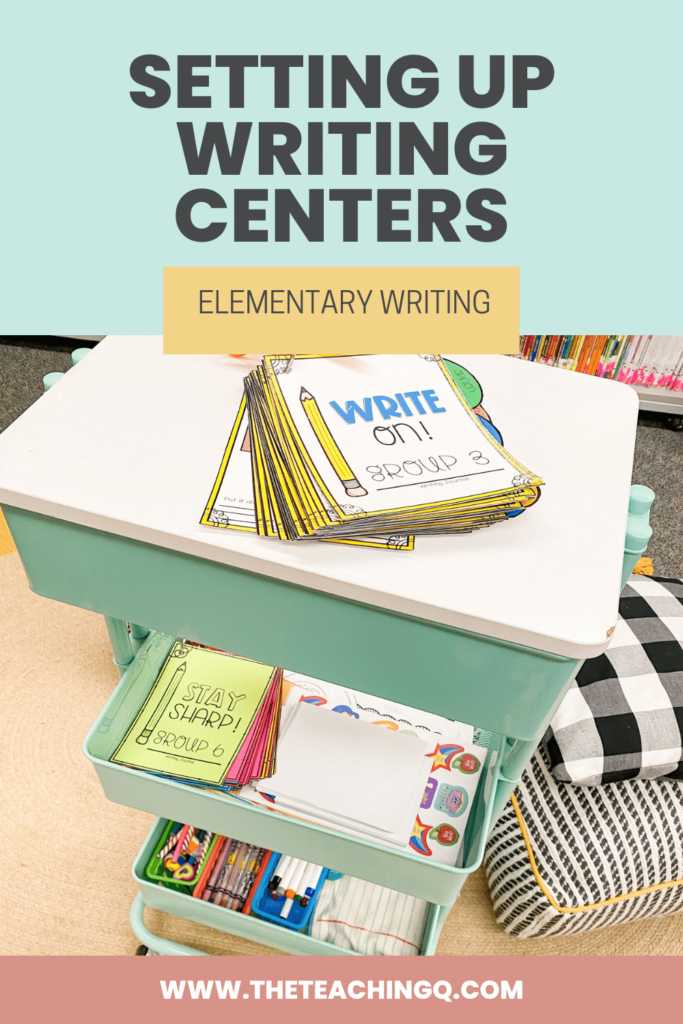
Rolling Cart
A rolling cart is a great option if you have the space. It’s easy to move around, and it gives you plenty of room to store all of your materials.
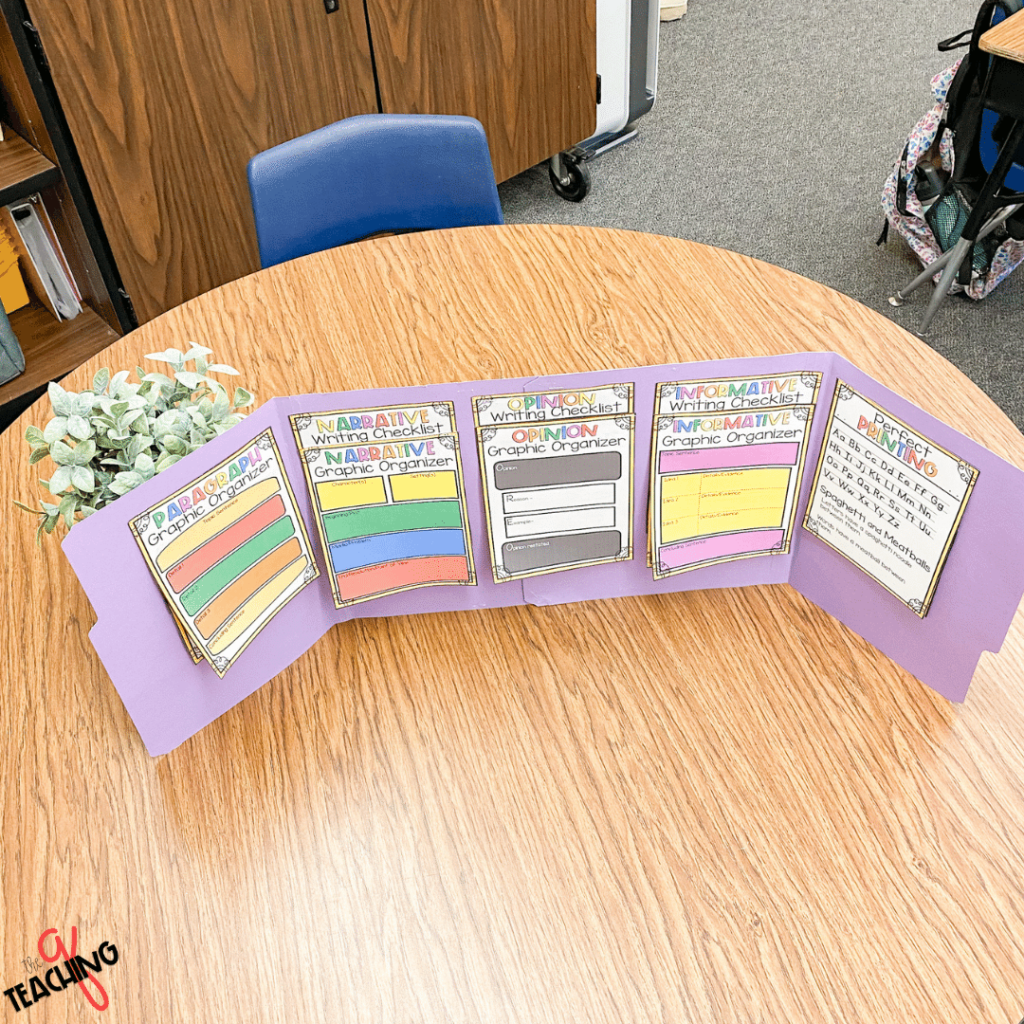
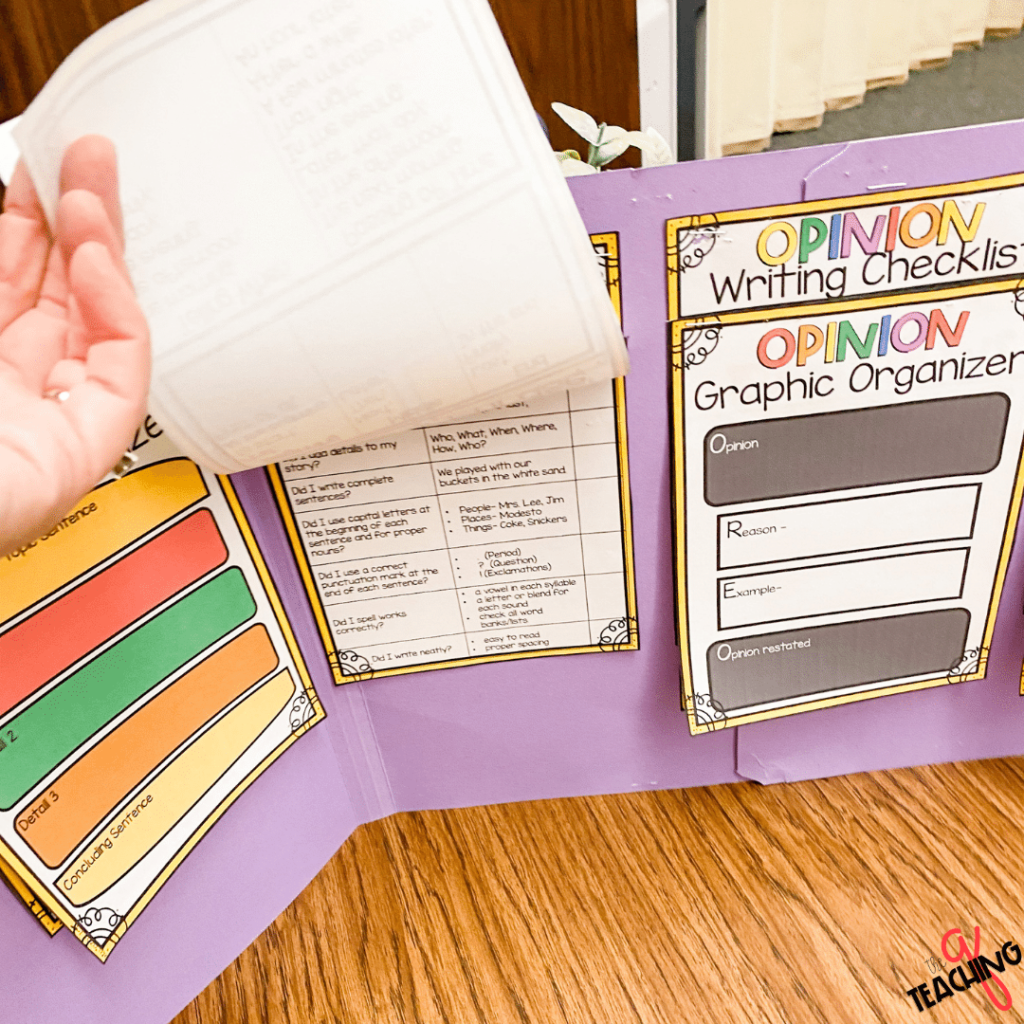
Personal File Folder Office
This one looks so cute and is perfect for setting up a writing center in a small space. They’re easy for students to grab what they need and get to work.
To create the Student File Folder Writing Office:
- Glue two file folders together
- Cut them horizontally
- Tape or glue important reference material on all sides
Once the writing file folder is created, students can use it to support all their writing needs, as a privacy shield during testing, or as a personal relaxation space. (AKA “I need to get away and cool down.” kind of area.)
Step 2- Stock It Up with * ALL * the Goodies
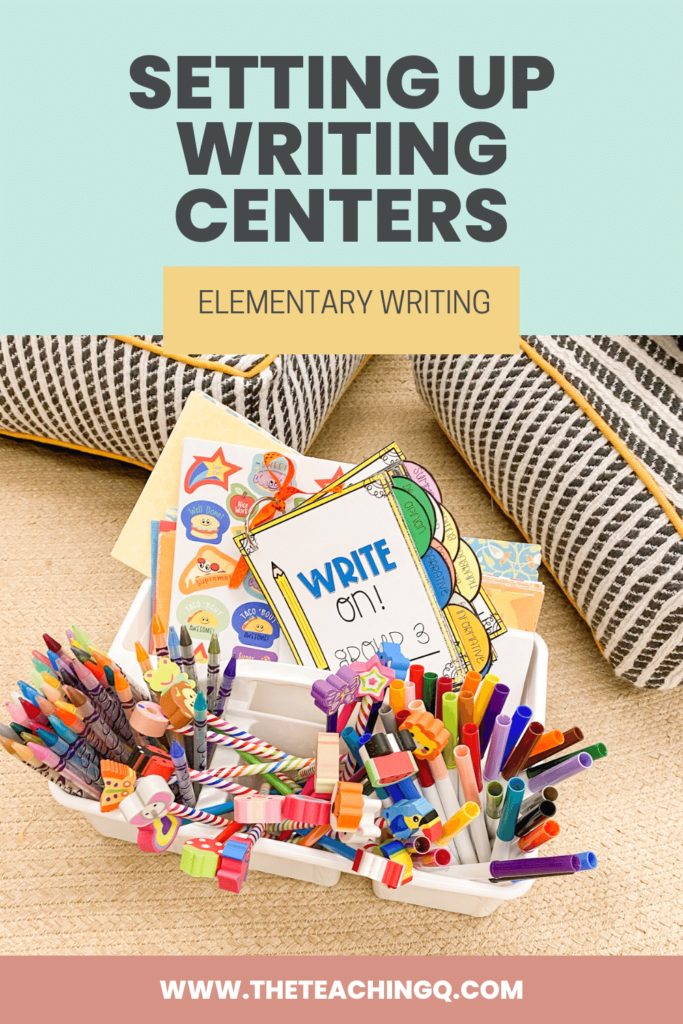
Now it’s time to start filling up your container with all sorts of fun writing materials. Some basics include pens, pencils, paper, and markers. But don’t stop there! You can also include things like stickers, stamps, and other fun embellishments to make the center really stand out.
Writing Materials:
- Pens
- Pencils
- Paper/cardstock/scrapbook paper
- Markers
- Stickers
- Ribbons
- Stamps
- envelopes
- Embellishments
- Stencils
- Writing Anchor/Reference Pages
- Writing Prompts
- Target mini-books
One of the most important things to include in your writing station is a writing prompt reference page. This will give your students something to write about when they’re feeling stuck or just don’t know what to write about. I like to create a mix of prompts that are both fun and challenging so that my students can really stretch their imaginations.
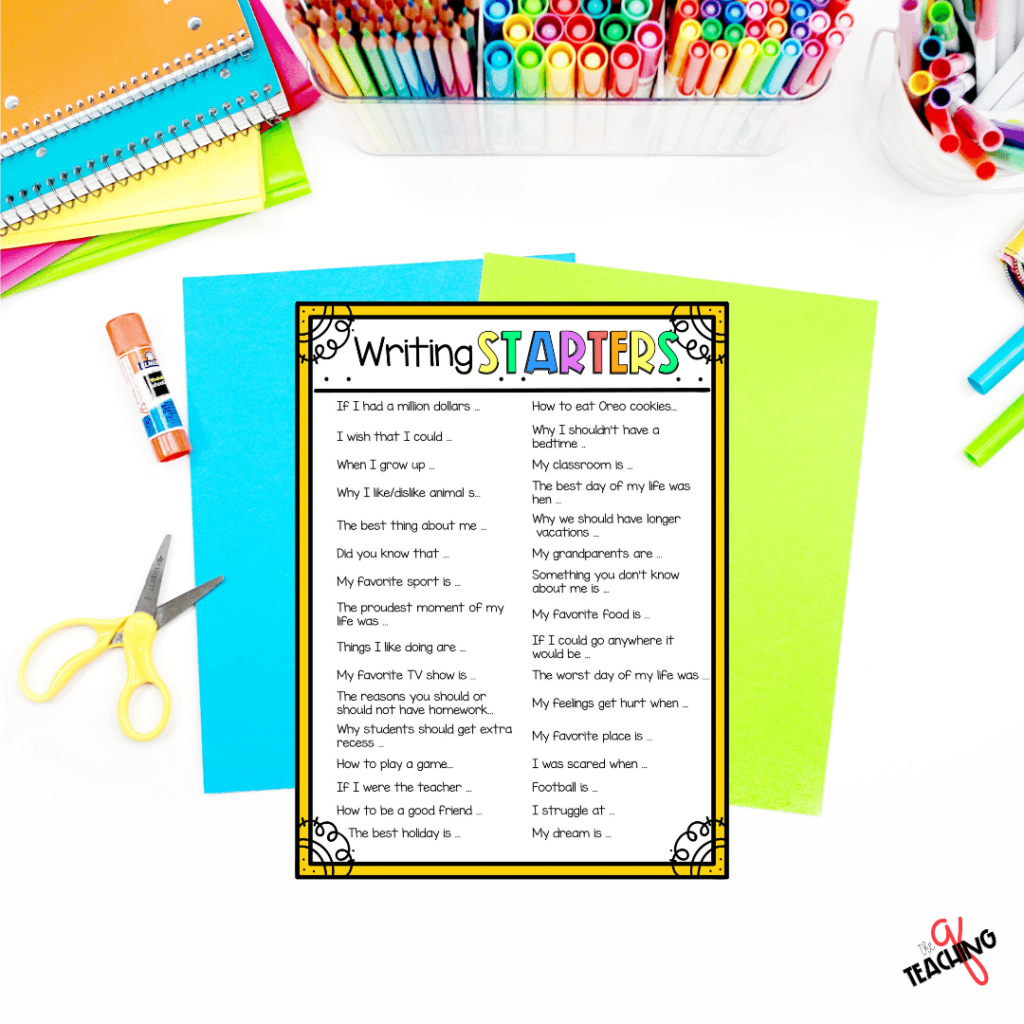
Here is an example list of sentence starters to add to the writing center. Other writing reference materials to include are; relevant writing prompts to the season, graphic organizers, word banks, and anchor charts. All the necessary writing pages are included in the Writing Notebook Resource shown in the writing center images.
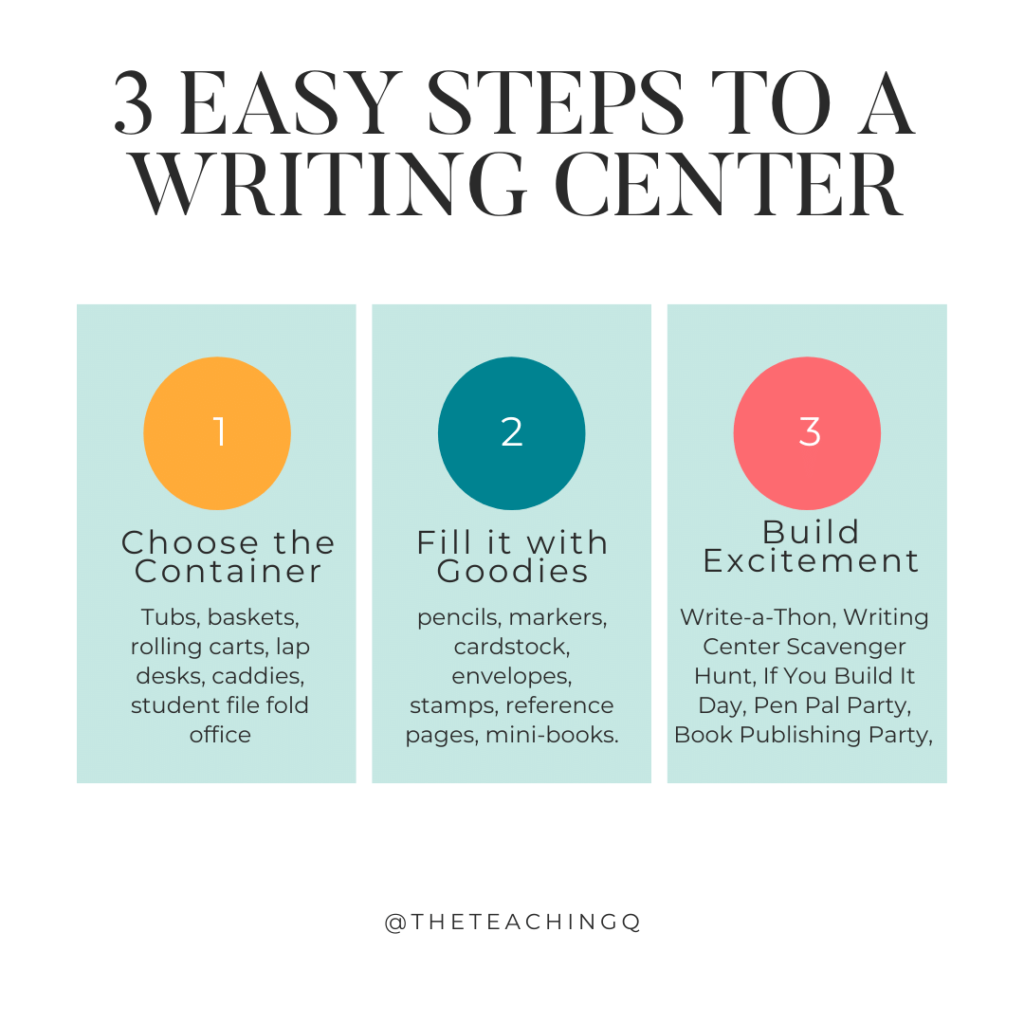
Step 3- Build Excitement Around the Writing Opportunity
The last step is to introduce the new writing center to your students and build excitement around it. You can do this by explaining what the center is for and how they can use it. You can also have a special unveiling ceremony event to really get them excited about using the center.
Unveiling Writing Center Ideas:
A Write-a-Thon:
Have your students write for a set amount of time and see how many creative pieces they can produce.
A Writing Center Scavenger Hunt:
Hide different materials around the room and have your students find them.
An If-You-Build-It Day:
Give your students free time to explore the center and create something new.
Class Pen Pal Party:
Invite another class to be your writing center pen pals and exchange letters. Go ahead and jump on over to read more in this blog post or this one to get you started.
Book Publishing Party:
Students write and illustrate their own books to add to the writing center library. Setting up a writing area doesn’t have to be complicated or time-consuming. With a little planning and preparation, you can have a center up and running in no time! Just choose a location, gather some materials, and create a writing prompt chart. Then build excitement around the center by hosting a special unveiling event. Thrill students with their very own writing space!
These are just a few ideas to get you started. The possibilities are really endless when it comes to setting up a writing center that works for your students and your classroom. If you’d like a like of writing activities to put in your new writing centers, you can find them in this blog post.
Have fun with it, and let your creativity shine!
Once you’ve completed these three steps, you’ll have a fully functioning writing station that your students will love!
Ta-Da!
And there you have it! Three simple steps to setting up a writing center for your elementary students. Just remember to choose a container, fill it with fun writing materials, and introduce the center to your students to get them excited about using it. Happy writing!

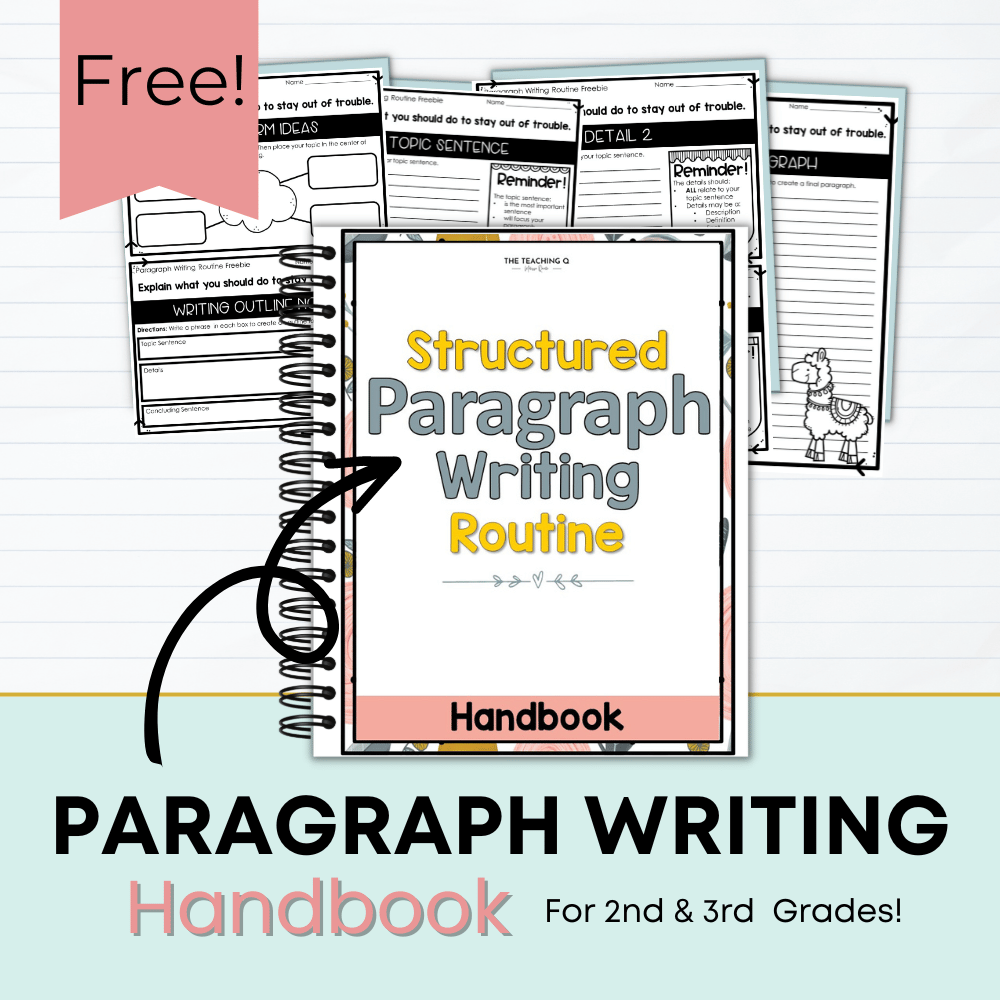
Are your students struggling and making very little progress in writing? Or maybe they’re unmotivated or a reluctant writer? If so, I’ve got your back.
Yes…I…Do!
Let me share my secret sauce when it comes to teaching writing to elementary students.
It’s the Sentences, Paragraphs, and Essays: OH, MY! E-book.
Click this link to learn more about how the E-Book can transform your students’ chicken scratch, hap-hazard writing into strong, effective, glorious writing!
–Melissa

